singlespeed
Well-known member
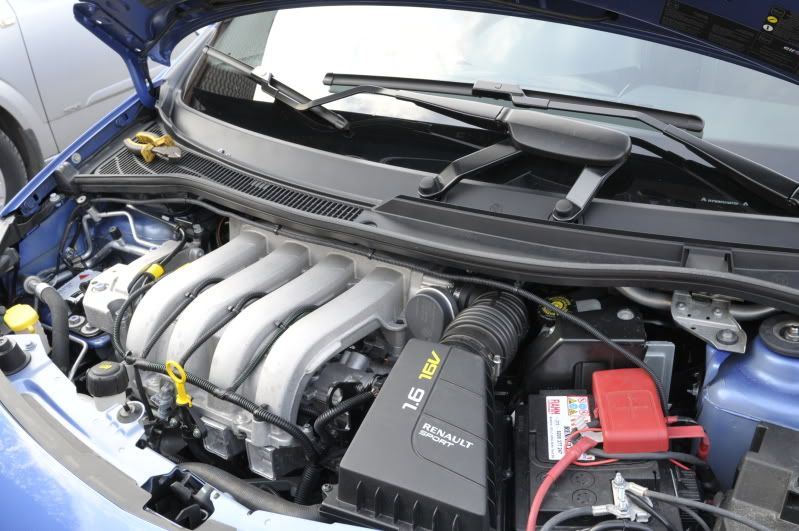
The HID kit isn't specificaly designed for the Twingo, so theres no right or wrong way to actualy install it. A lot will actualy depend on the spec of your model and accesories etc as to where things can actualy fit, but there should be no need for cutting or drillingto get them installed.
The wiring connectors in the kit are fairly self explanatory as the connectors are different styles so you can only connect the correct cables together between bulb and ballast
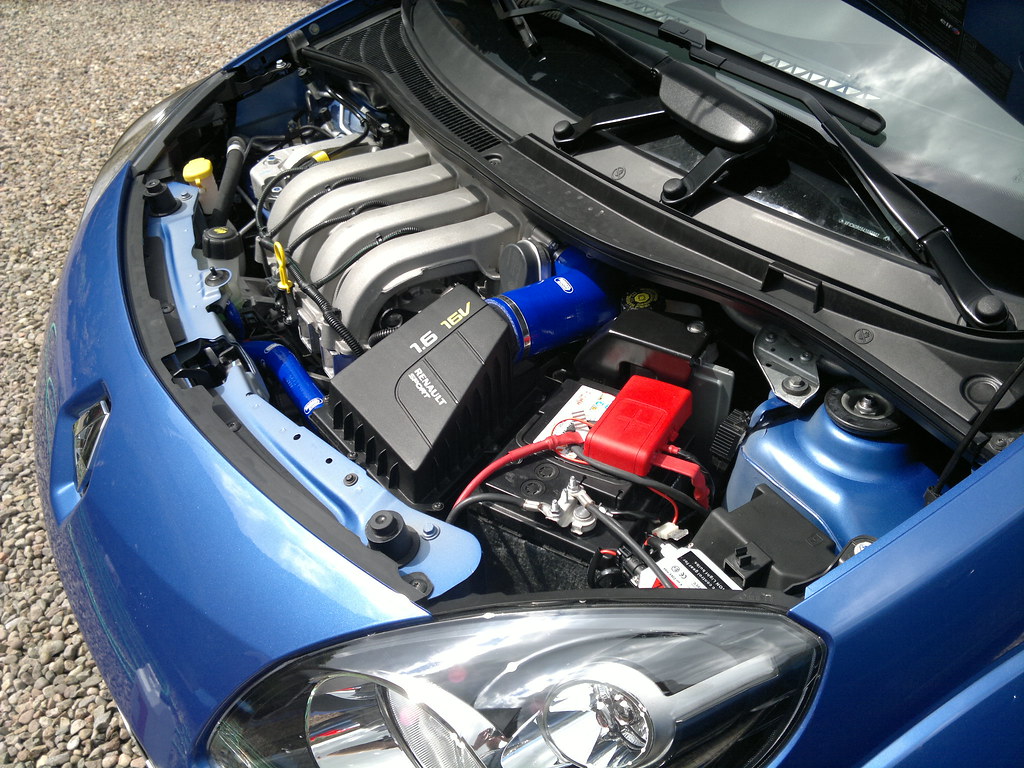
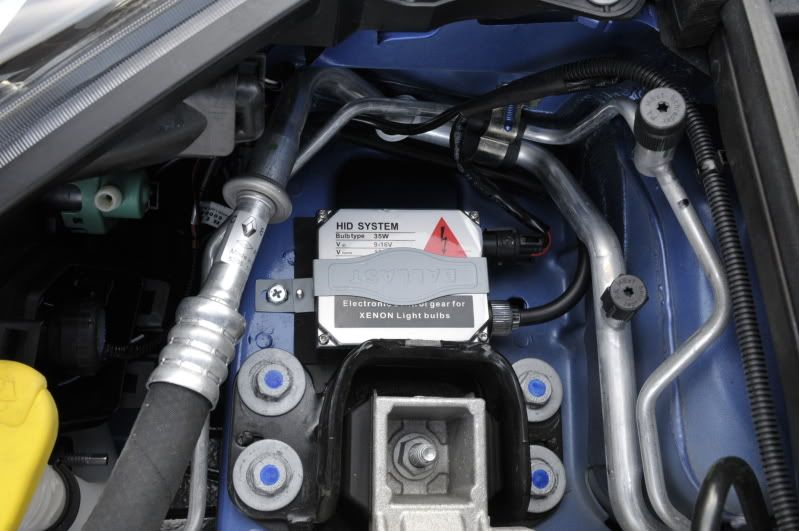
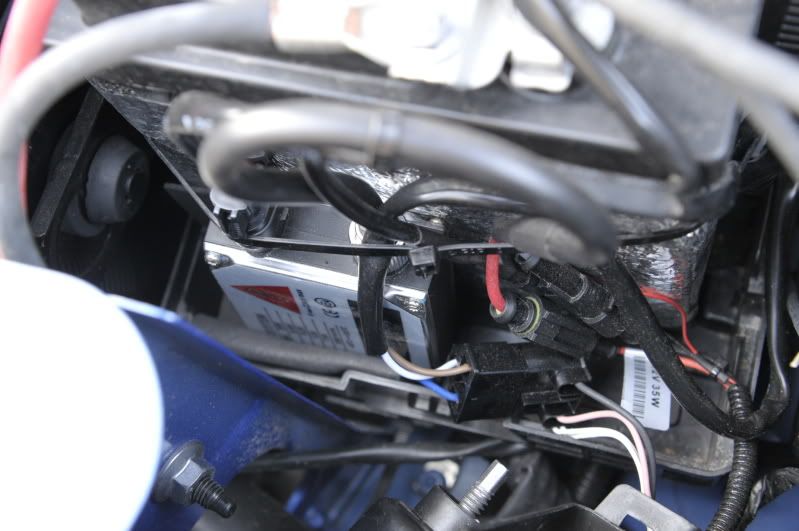
On the drivers side, I had some free space to mount the ballast resistor box and there was a hole already there to be used for the mounting bolt. Getting the nut and washer on the bottom side of the mounting bracket was fiddly. I covered the underside of the ballast box with sticky backed foam to protect the paintwork.
I connected the the -ve lead to the chassis using the stud which normaly secures the A/C pipes. I just cleaned off a small patch of paint from the stud, where the nut goes on

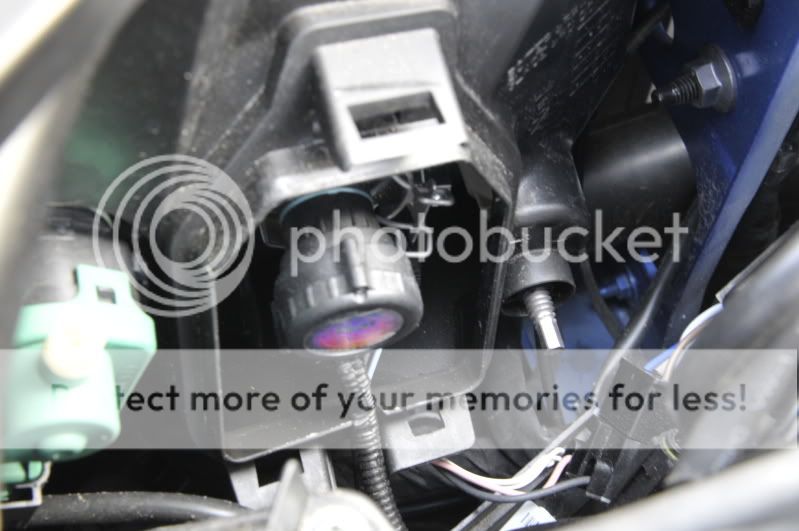
The normal headlight bulb connector is redundant on the drivers side, so I tucked this in to the back of the light housing on and can be seen next to the new HID bulb. The new cable also fits in the slot.
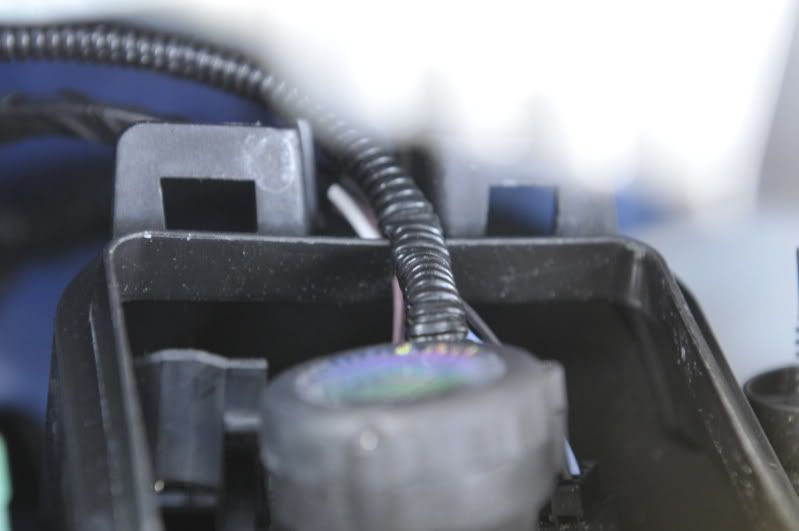
I routed the long cable across the back of the engine bay, using the rubber strip and tywraps, cut down and folded over the lip to secure it.

On the passenger side, the headlight bulb connector needs to be connected onto the new loom for the HID's. Trying to fit all the cables in the slot was going to be too tight, so I left the connector in the engine bay instead.
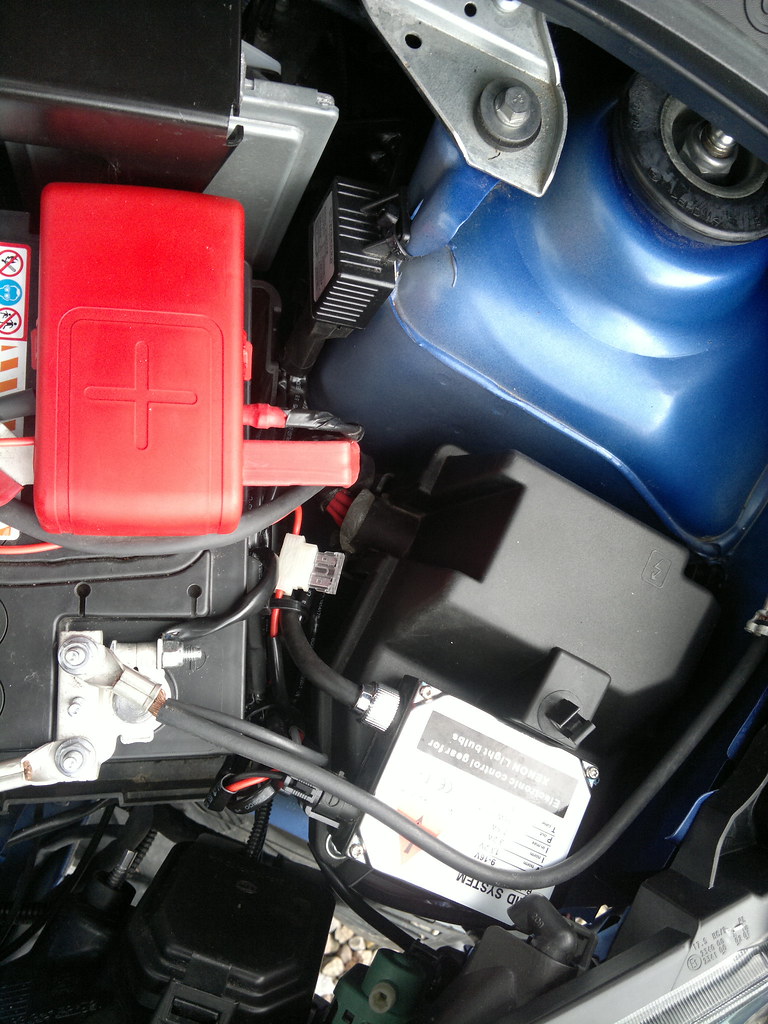
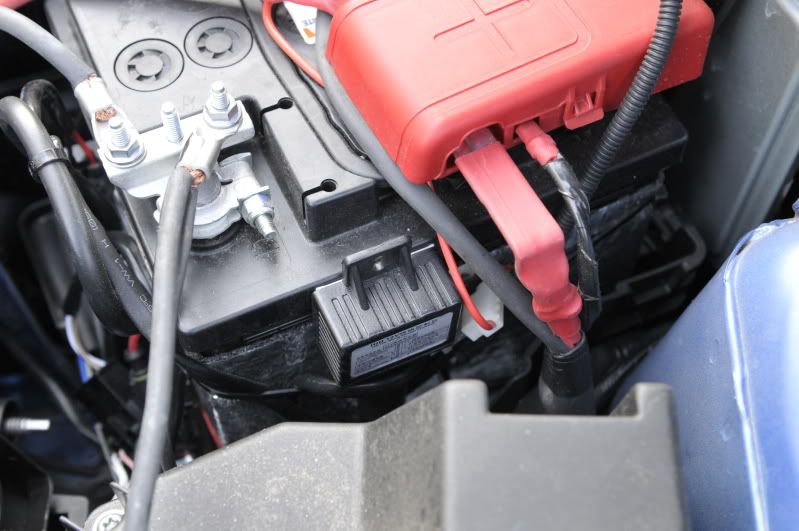
I wedged the ballast box in the bottom of the battery tray with some foam sheet, then used a couple of tywraps around the battery to secure the top of the ballast and keep the cables tidy.
The HID 12v supply has it's own inline fuse, so should be safe connecting to the main side of the battery connector so long as the un-fused cable can't rub against the chassis or -ve terminal of the battery

I stuck the relay onto the battery with the foam sticky pads and the cables are held by the tywrap mentioned for the ballast. The passenger side grounding lead is attached to one of the studs on the battery -ve terminal
It's not a perfect instalation, but is tidy enough and hasn't given me any problems so far")
The wiring connectors in the kit are fairly self explanatory as the connectors are different styles so you can only connect the correct cables together between bulb and ballast
On the drivers side, I had some free space to mount the ballast resistor box and there was a hole already there to be used for the mounting bolt. Getting the nut and washer on the bottom side of the mounting bracket was fiddly. I covered the underside of the ballast box with sticky backed foam to protect the paintwork.
I connected the the -ve lead to the chassis using the stud which normaly secures the A/C pipes. I just cleaned off a small patch of paint from the stud, where the nut goes on
The normal headlight bulb connector is redundant on the drivers side, so I tucked this in to the back of the light housing on and can be seen next to the new HID bulb. The new cable also fits in the slot.
I routed the long cable across the back of the engine bay, using the rubber strip and tywraps, cut down and folded over the lip to secure it.
On the passenger side, the headlight bulb connector needs to be connected onto the new loom for the HID's. Trying to fit all the cables in the slot was going to be too tight, so I left the connector in the engine bay instead.
I wedged the ballast box in the bottom of the battery tray with some foam sheet, then used a couple of tywraps around the battery to secure the top of the ballast and keep the cables tidy.
The HID 12v supply has it's own inline fuse, so should be safe connecting to the main side of the battery connector so long as the un-fused cable can't rub against the chassis or -ve terminal of the battery
I stuck the relay onto the battery with the foam sticky pads and the cables are held by the tywrap mentioned for the ballast. The passenger side grounding lead is attached to one of the studs on the battery -ve terminal
It's not a perfect instalation, but is tidy enough and hasn't given me any problems so far