Custom induction

Twingo Forum

Help Support Twingo Forum:

This site may earn a commission from merchant affiliate links, including eBay, Amazon, and others.
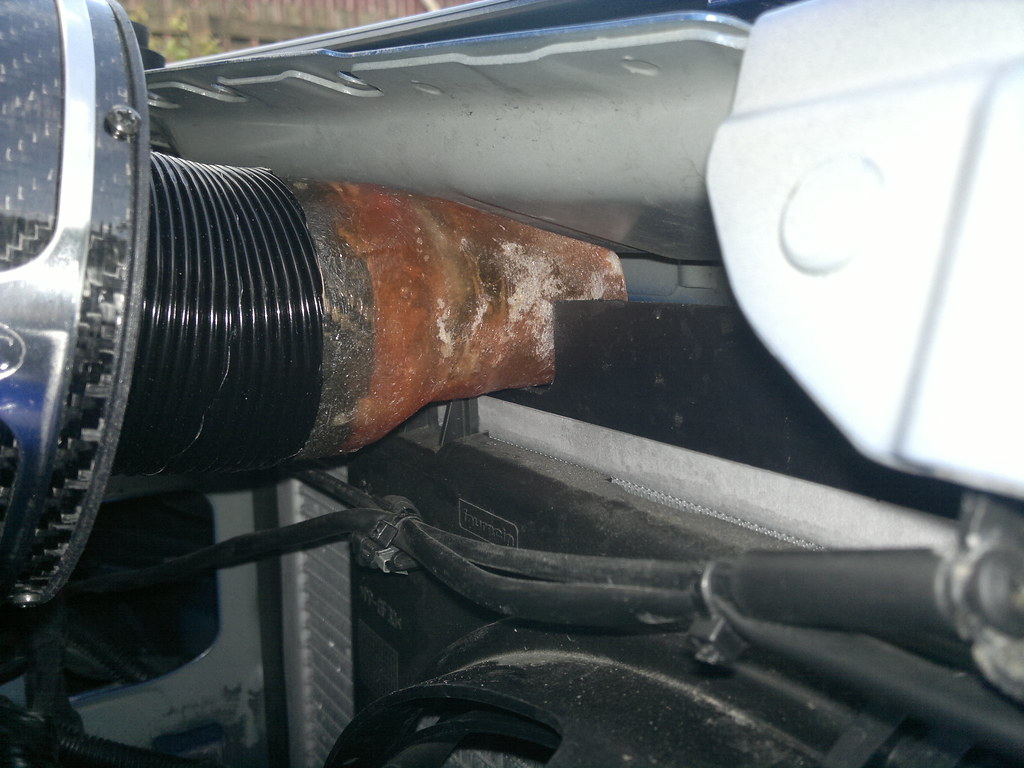
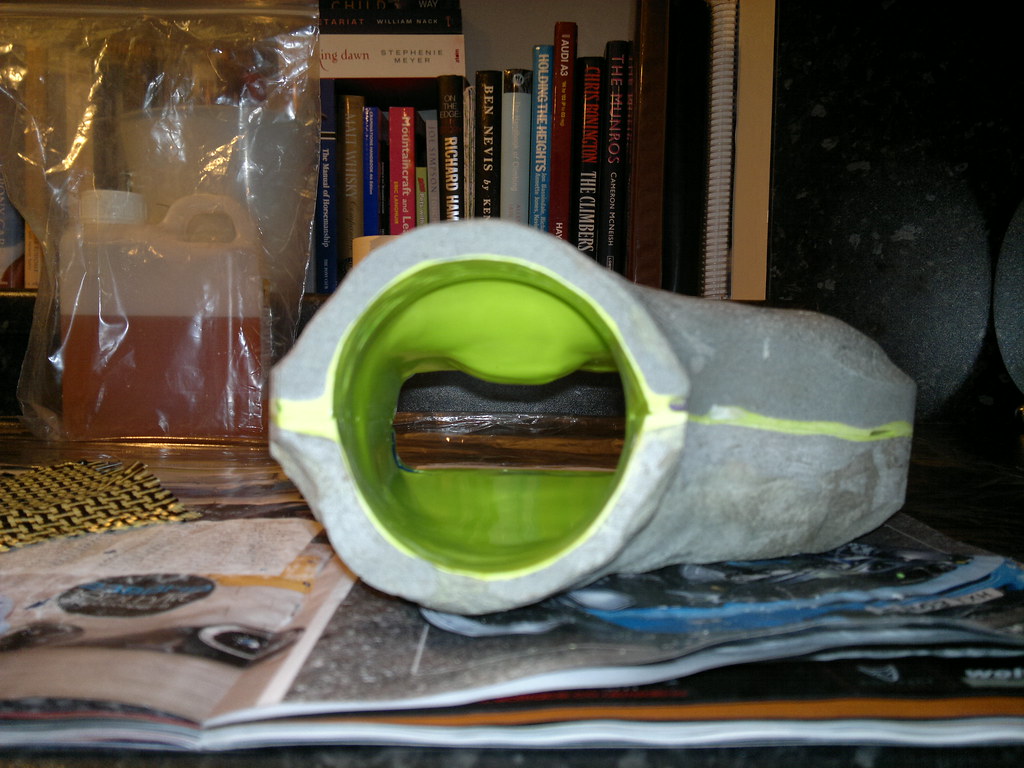
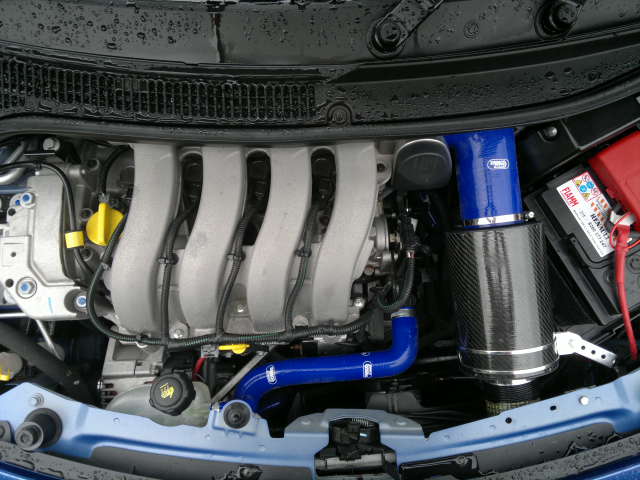
havent sold the first one, did send it to Streamline but model was too unsmooth/meshed together and i couldnt really prove gains or airflow. for that id need to measure the flow rate (m3/min on a pressure machine), which clearly isnt going to happen and dyno testing does give flow amounts :(
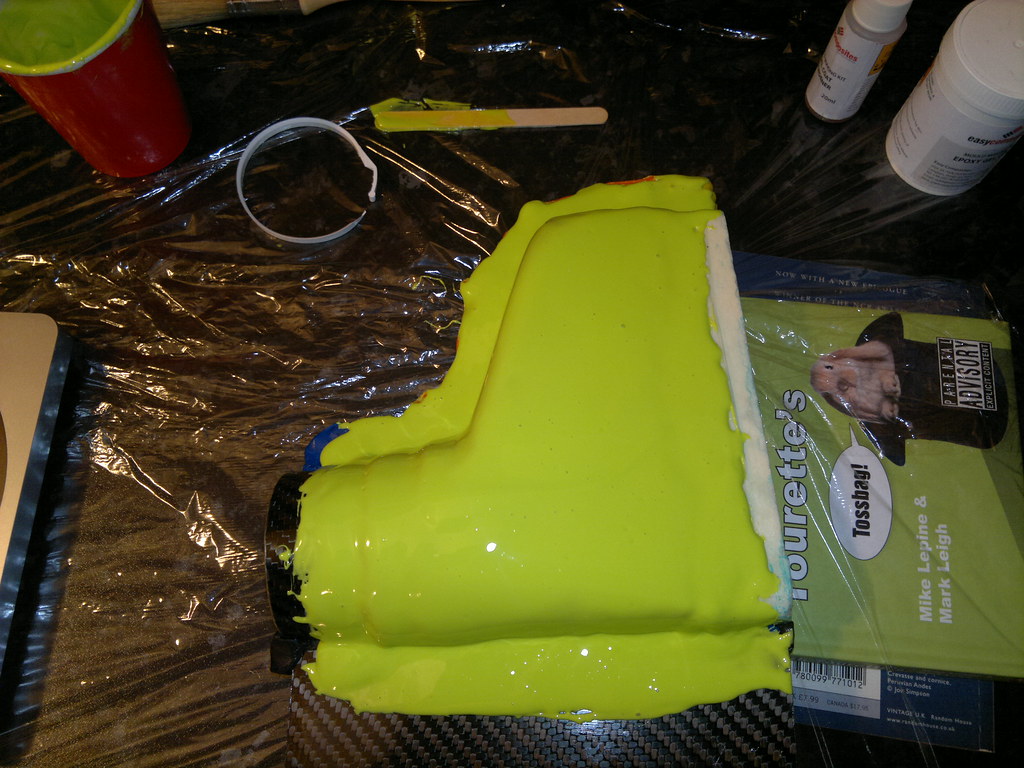
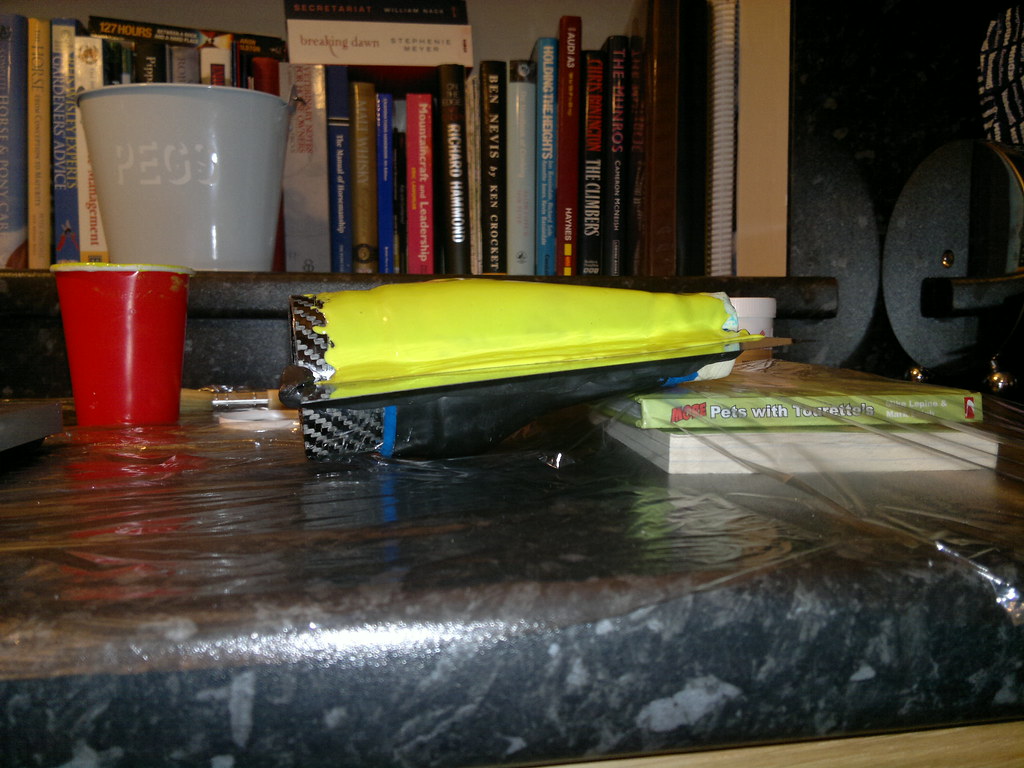
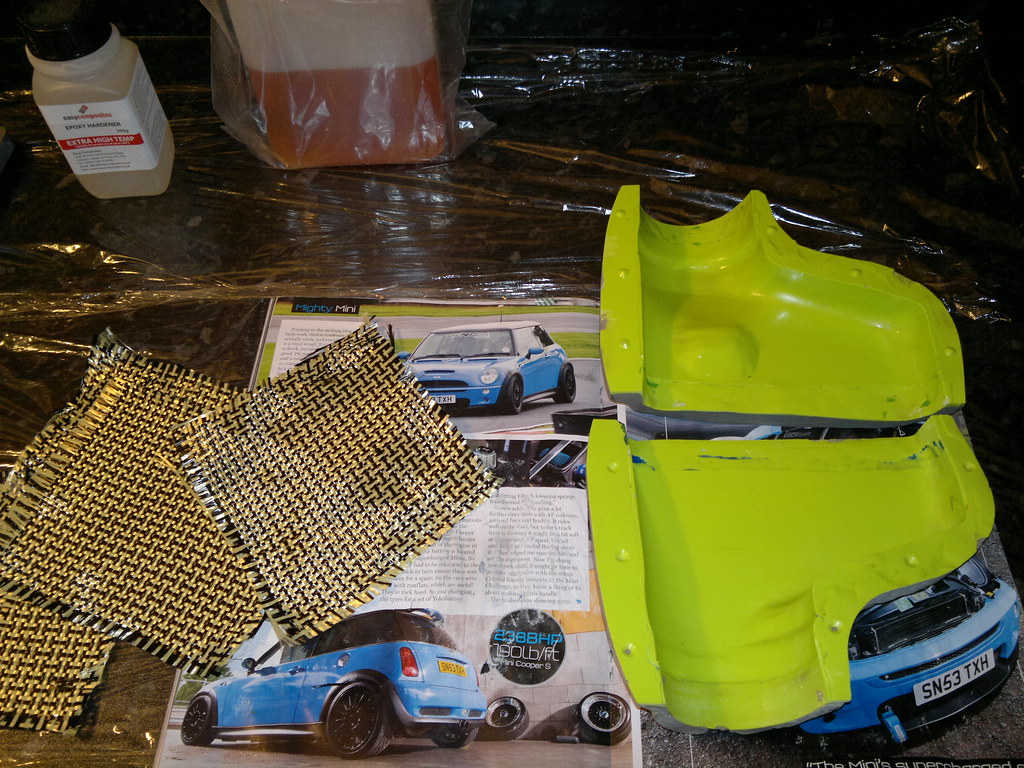
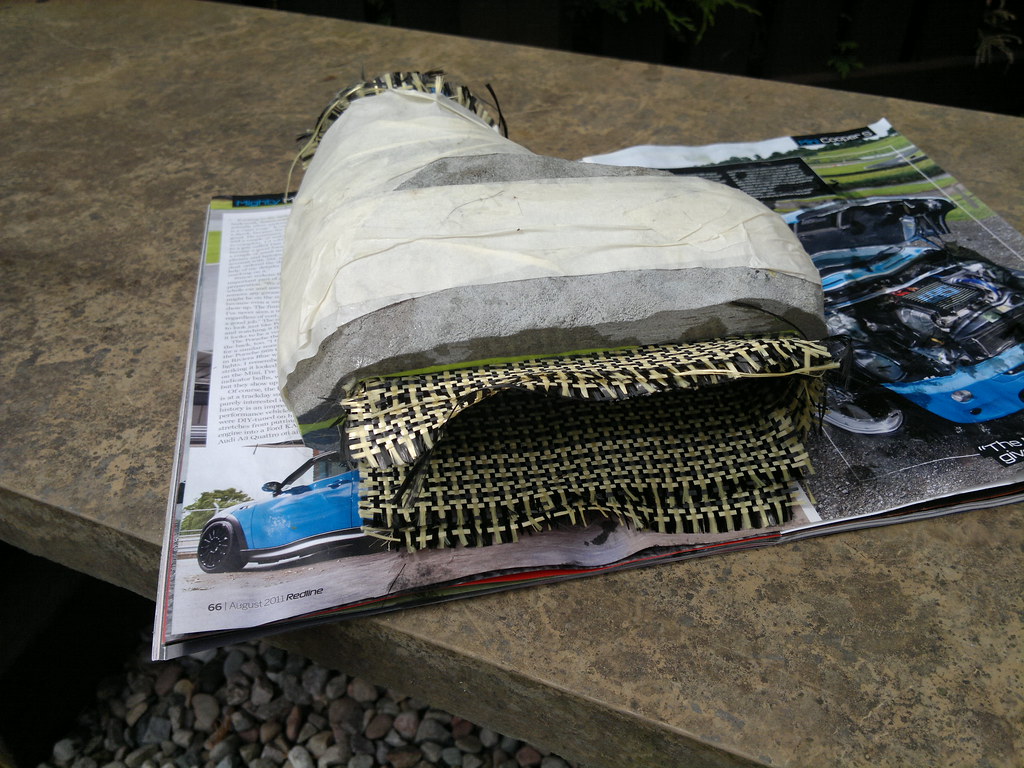
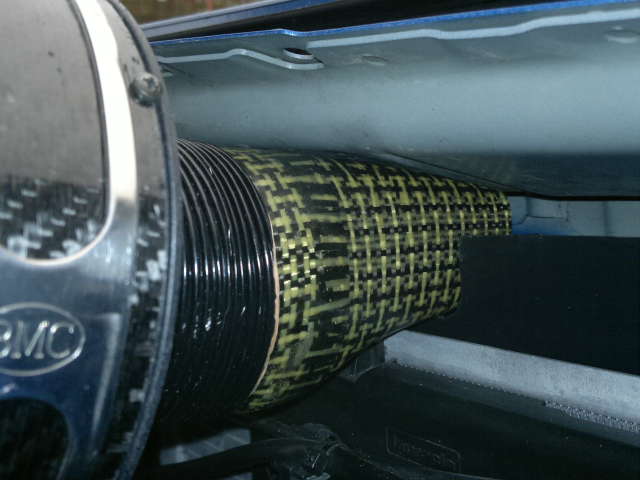
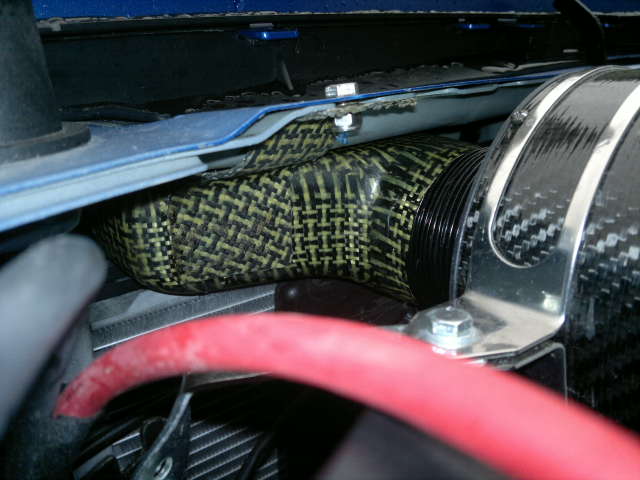
i'll get around to making them myself with the spare fibreglass sheets i have, even have a half built open ment for open cones to divert air to it. not sure of any other carbon companies out their, though was mainly asking these to be mad ein fibreglass as its just as light and you dont see the thing.
 
If I can find an unwanted fridge, then the compressor will be liberated from it to use as a vacuum pump for wet laying the Mk2 version when I get home in a couple of weeks time

Having thought about it, the intake pipe of the Mk1 scoop (pic below) could be positioned a few mm higher, taking advantage of the room above, thus reducing the stepdown on the bottom edge (this will also make mounting points less bulky when they go on the top of the scoop)
5833636634_eff025533e_b_d.jpg


I think theres also room for widening the intake towards the right hand side and adding a radius to the edges, without butchering the radiator or slam panel.

Being as Streamline have shelved Orbs creation, if the Mk2 looks good and, theres interest... The plan is to make up a wax model then make up a two part splitable mould to repeat the wax insert for vacuum forming a few copies. These would be a few layers of glass and Kevlar with black resin so it doesn't look gash. This should be plenty strong enough, without the addition of carbon which would give me a headache trying to get the weave to look good when, as Orb mentioned, you can hardly see it anyway ;)
 
if you remove that piece of black plastic above the radiator you could extent it all the way to the Cooling Res but will have to make it shallower. theres a small gap between the Radiator and body work so they used that Bit of plastic to make that route more restrictive (basic physics, air/water will always take the less restrictive route)
single if i can get the other scoop sorted i'll send it up to you
 
orbital":2lu4dvmj said:
if you remove that piece of black plastic above the radiator you could extent it all the way to the Cooling Res but will have to make it shallower. theres a small gap between the Radiator and body work so they used that Bit of plastic to make that route more restrictive (basic physics, air/water will always take the less restrictive route)
single if i can get the other scoop sorted i'll send it up to you
The plan is to keep the plastic lip ontop of the radiator and fit a seal ontop of it (like from rear of bonnet), as it is a half hearted solution for channeling air through the radiator.

Even with my Mk1 attempt, forwards of the round connecting pipe, the Cross Sectional Area of the duct is a fair bit larger than the pipe CSA. So, I don't see much need to go daft extending sideways more than a few extra degrees of flare angle, which would allow better angles/radiuses on the left side

We have a nice vacuum pump in the workshop here... I wonder if I can get it in my bag and onboard the chopper :mrgreen:
 
if it is or you could make one that size it would be good as most closed kits such as viper and k&n universal ones use a 76mm inlet feed.
 
If you send me a plan with the measures of the scoop, I can also try to make a scoop...
That would be very nice :D
 
2x2 carbon/kevlar fabric and high temp epoxy ordered, which will be suitable for sitting above the radiator as it is rated for 140deg. The fabric was chosen to give the strength and crack resistance, not for the pattern effect of the weave... If it looks good, then that will be a bonus.

I will not be trying vacuum bagging as the pump would be £100-150 and I think the shape would be a nightmare to try and arrange the layers within the mold and also get a seal. However, pressing the carbon/kevlar into the mold with a positive presure (balloon/bag) should work and I have a pump that would work.


Time to get making a new male plug for the mold to be taken from :)

Will be having 70mm and 76mm stepped pipe connection and picking up the two holes in the slam panel for mounting.
 
Plug made and starting the first half of the mould. Nice green gel coat before adding the strenghner ontop
5983619679_b379dcc790_b_d.jpg


5983620083_2c81c2974b_b_d.jpg

I hope this works, as it has been a pain in the a*** to make the plug

Tomorrow, repeat the process for the other half, then another day before use :D
 
looking good dude,cant wait to see the result,I hope it all works out!!!
 
good luck with the mould, surprised you didnt hack it in half to make it easier. was going to with mine but the alumin was too thick to cut through :(
 
hacking it in half would be easier in one way, but you loose some depth which needs building back up and the plug could distort, leading to the two halves not matching up.
 
5988280174_09f4c482a8_b_d.jpg


5988281036_a5b37d0934_b_d.jpg


5988281902_fda0a63835_b_d.jpg


5987720149_df787d91d8_b_d.jpg


Two layers of carbon/kevlar lined with two layers of glass. Hopefully it will turn out fron the mould ok
 
I'm so impatient and so tempted to try cracking the mould open, but whilst it is set to the touch, full cure takes up to 24 hrs :(

This was my first time working with epoxy resin instead of the usual polyester. Because epoxy it thinner, laying up was a pain due to the cloth wanting to pull away from corners,. Whilstst I can see the inner side which looks usable, the quality of the outside of the duct is a mistery . If the duct doesn't turn out good, I should be able to have another go
 
looking good :)
might be easier doing the two halfs seperate then messing together off all doesnt go smoothly.
you using carbon mesh with kev?
 
It took two attempts to get an acceptable result. The first one out of the mould was stuck in the mouls and had several areas where the resin pulled away when it was forcibly removed... Serves me right for scrimping on the release wax and PVA. Also, I missed a bit with the second layer, so it was a bit bendy.


With 3 or 4 layers of carbon/kevlar and lined with a layer of glass tissue, laminated with resin that's good for 180deg, the finished item is certainly built to last, but tips the scales at 115 grams
6002426068_d5d873fcec_z_d.jpg


Making the mounting bracket proved to be a bit of a nightmare, but turned out reasonably well, except for the direction of the weave
6002425922_9b70ddd492_z_d.jpg


6002426250_9bd35f28c5_z_d.jpg


Looking up inside the front bumper, at the oval hole for the original and the new scoop
6001877705_bb65b7fb6d_z_d.jpg
 
Top