mikehealy5's GT progress thread (plenty pics)

Twingo Forum

Help Support Twingo Forum:

This site may earn a commission from merchant affiliate links, including eBay, Amazon, and others.
for the 1st time ever since I have had the twingo it passed its MOT yesterday with flying colours. not even an advisory! :D

im so chuffed and this means the extra money I put aside for any work that needed doing can go towards the next upgrade!!!!

iv just got to decide what mod to spend it on...........
 
BlackTwingo-i":7lr9z8ep said:
Wheels ;) 182's!!

I said I had A BIT of money left over. lol I wasn't expecting £450 worth of fixing things! sorry mike but at least you tried . ha ha

I can't belive they havnt gone yet.
 
think il take sally out for a nice day and spend the money on her. need to keep her sweet at the mo as in pricing up a new exhaust :D
 
she has not long given me the best thing in the world and that was my little son oliver so I think its only fair that she is treated for everything she does day in day out whilst im at work.

Hopefully sort a exhaust out next month. been in talks with a garage near me in blackpoool and found their prices are not to bad for a custom stainless steel exhaust that he will tune to exactly to what I want it to sound like. :D
 
I ordered some "logo projection leds" the other day and got round to fitting them today.

so thought id do a little how to

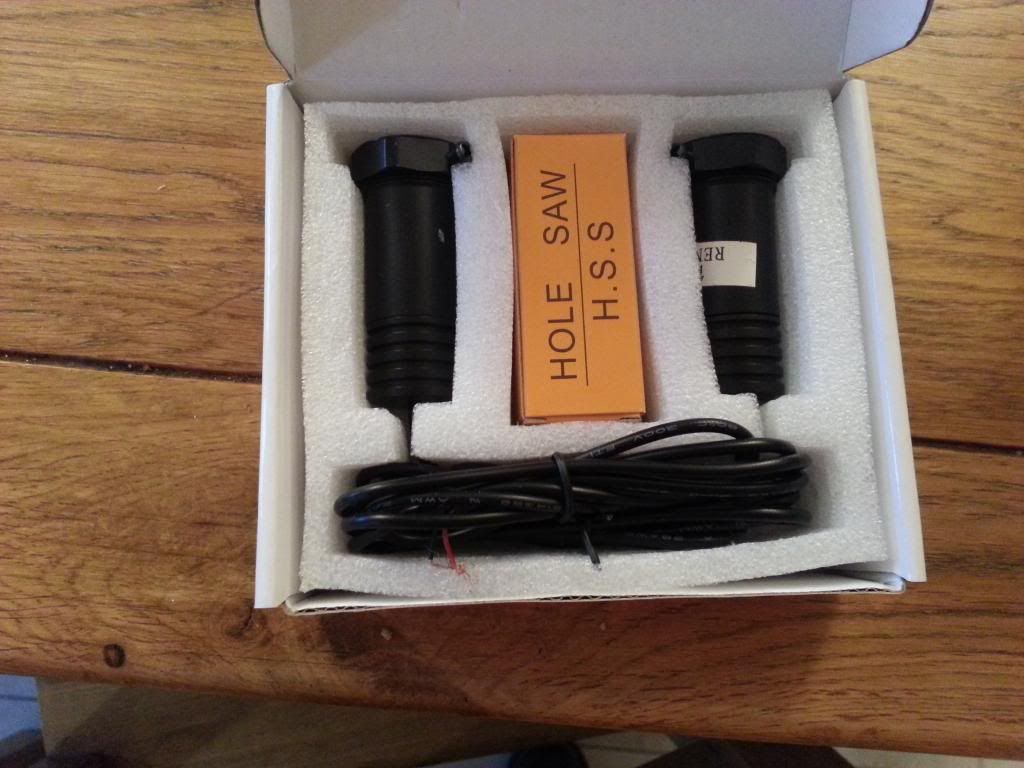
this is how they arived in the box. they came complete with x2 projectors, and a cutting tool.


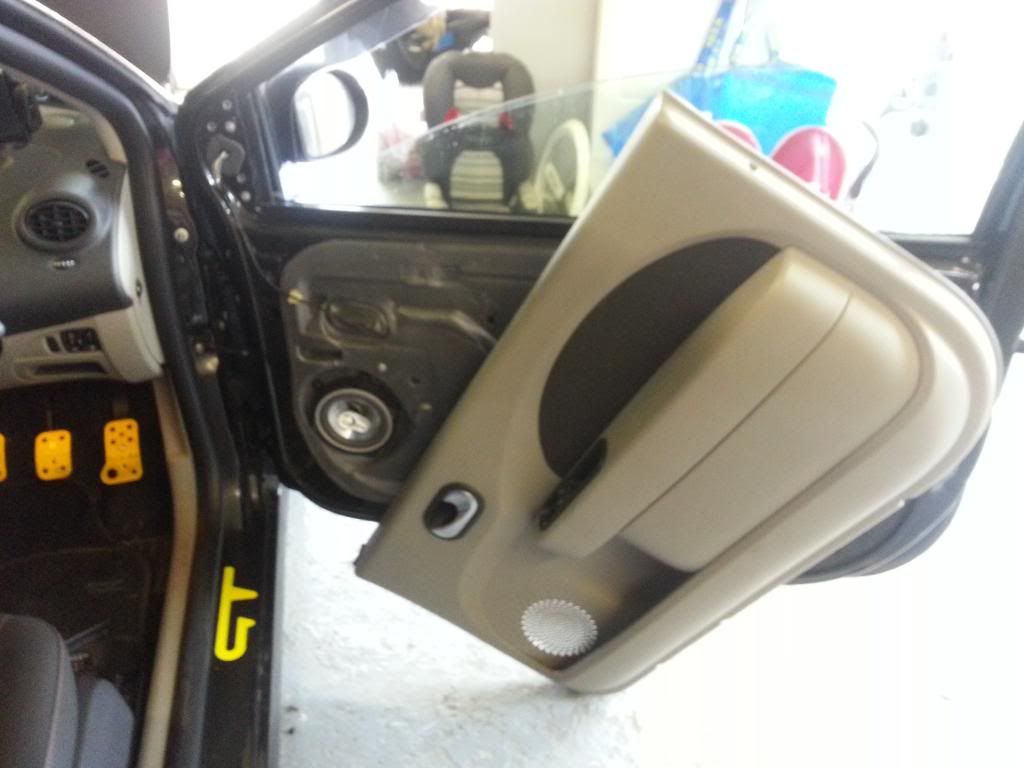
1st thing to do is to remove the door cards. this is done by removing the screws surrounding the door cards.

x3 underneith
x1 at the side
x1 behind cap in door handle
x1 behind cap near electric window button.
door card comes off from the bottom 1st then pull up.


next was to cut a nice round hole at the bottom right hand side of the door card.....


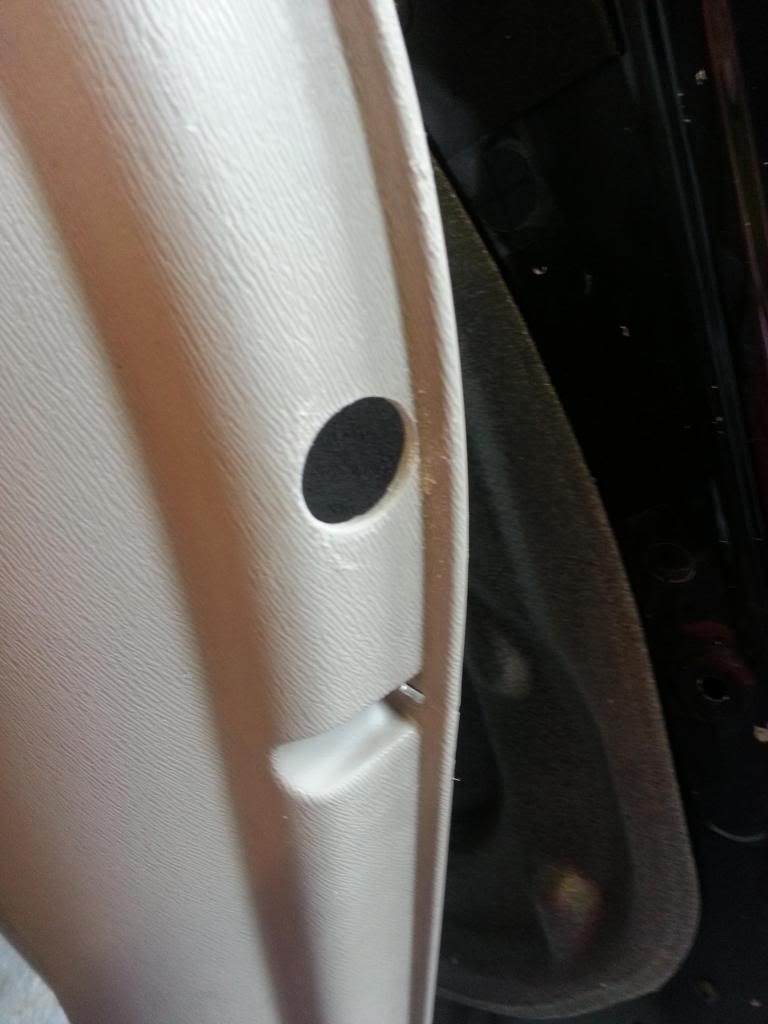
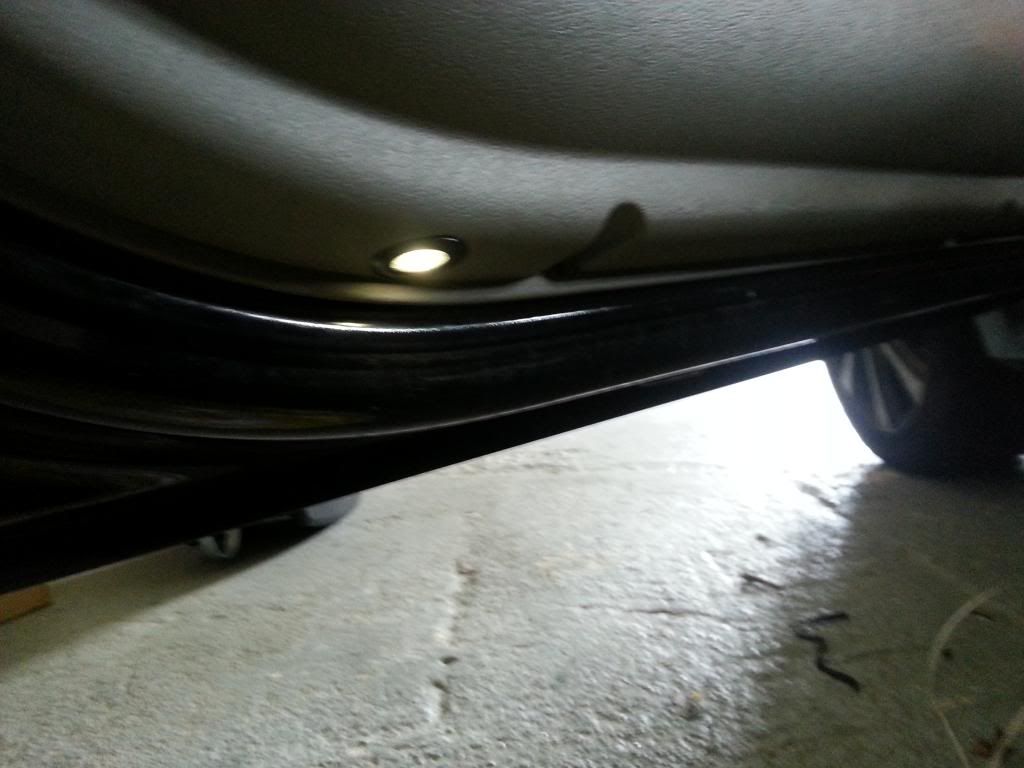
projector sits in nice and snug and the wires are fed through the door and out here...


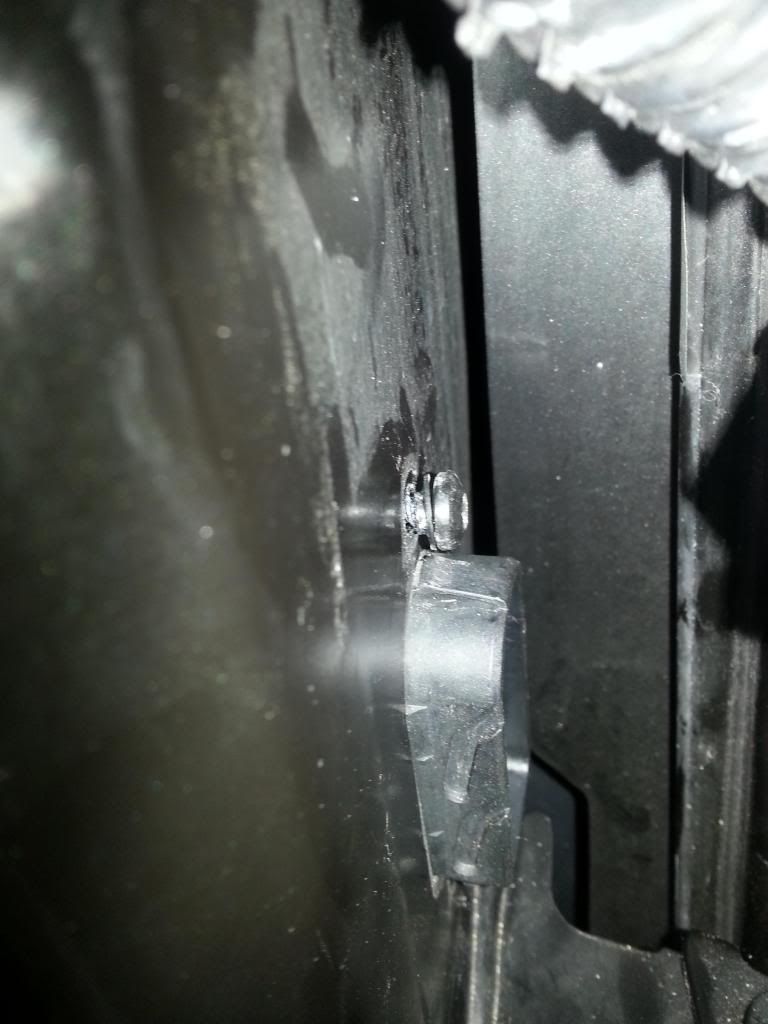
then they run into the cabin through this connector and into the foot well


the cables go under the carpet, behind the console and iv cut them in to my footwell lights that i had installed previously.


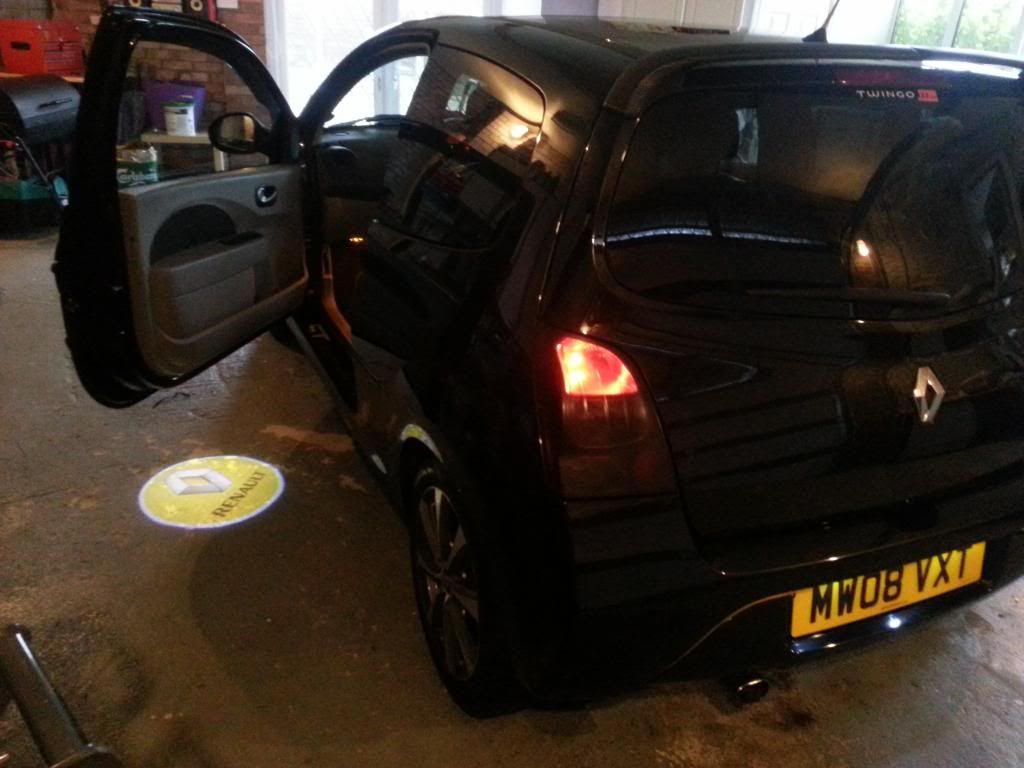
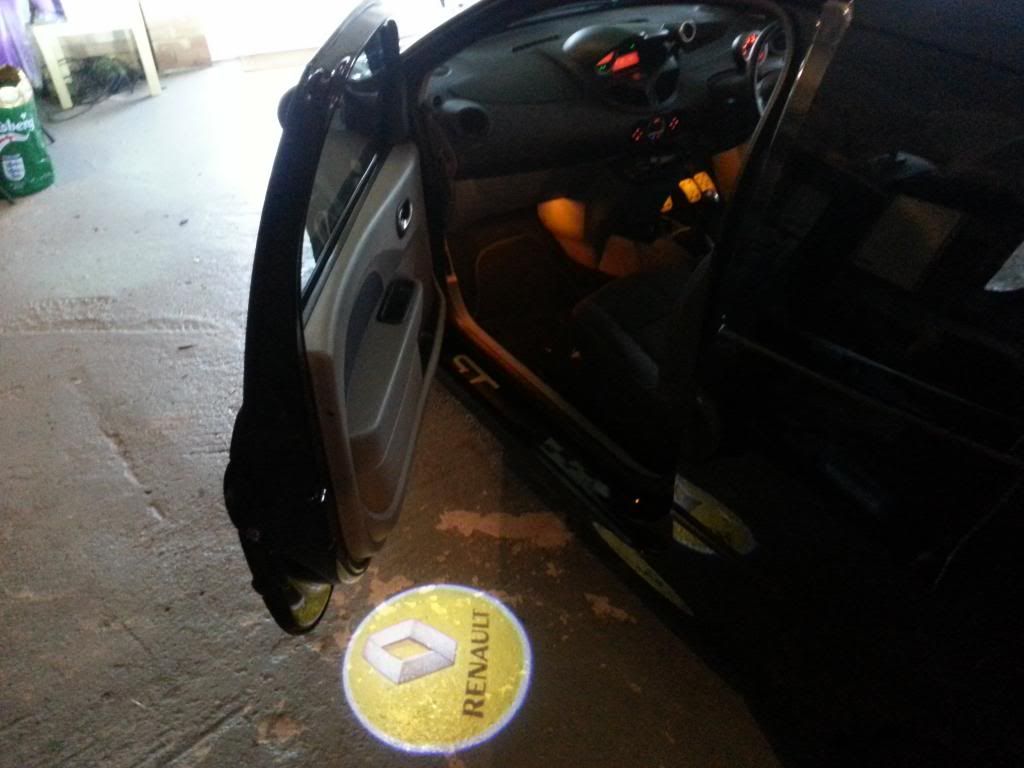
heres some pics of the finnished product. ........


https://www.youtube.com/watch?v=vON29h7Afgw&feature=youtube_gdata_player

it was a pretty stright forward job only took around an hour, i would of probably took longer if it wasnt for daddys little helper!!!!

 
new badges ordered today as im getting a bit tired of re wrapping them every time theres a bit of sun.
The spoiler and wing mirrors are ok its just the badges that peal on the inside.
 
Top