RS160 - Twingo Gordini #159

Twingo Forum

Help Support Twingo Forum:

This site may earn a commission from merchant affiliate links, including eBay, Amazon, and others.
abrahams133":aqs9c5n0 said:
Great looking machine this Neil , are you a mechanic by trade?
Thanks :)

Aircraft Apprentice, with 17 years in the RAF
A year of HGV mechanic
Now, offshore as an ROV pilot/technician.


Had a course today down Aberdeen, so called in to Ricky Gauld on the way back to see if he could do the mapping for the longer intakes. And, he has done a few cars, including Formula Student racers with the SC ECUs :cool:

I've been looking more in depth at what the ECU and SX Tune software can do.
Temperature dependent rev limit
Traction control
Launch control :?
 
nat connelly":1jpy7wwq said:
are the stage 2 cat cams ever going to be made for anyone to one to buy? or were they just a one of thing for your car Neil?
Yeah, I'm sure they would be. Just contact Catcams UK. Just check if they recommend fitting the inlet cam with an offset (mines 4deg off to reduce the inlet/exhaust valve overlap) or, correctly timed using the timing tools, as I don't know if they have altered the timing slot angle into a revised profile

Whilst its not guaranteed, Paul at RS Tunning thinks he could have cracked the mapping for the stage two cams on the original intake and ECU, to reduce the mid range flatspot. Besides, the flatspot may be reduced (or worse) with more standard manifolds and head.
 
Crank case breather filter refitted, instead of having a hole in the top cover. Small tube welded on to allow the filter or hose to be attached.
12207784796_fa391be84f_b_d.jpg


As part of cutting the slam panel and bonnet latch out, I fitted a pair of Aerocatches. The orientation isn't ideal, being across the bonnet but the curve of the bonnet skin is too much when the catches are positioned inline.
12207580124_134be548c9_b_d.jpg


Having them across the bonnet, coupled with some carefull measuring and cutting enabled me have minimal cutting/drilling to the inner skin, having just one largeish hole
12207787596_b0f7be5877_b_d.jpg


12207578134_0158c61d26_b_d.jpg


12207789576_84256c0d7c_b_d.jpg
 
Better than tying it down with string :lol: I had the bonnet of my old Astra tied down for a few months after adjusting the slam pannel and bonnet position using a Cavaliers tow bar :?

Yeah, the position wasn't my first choice. They ended up there after basically exhausting the places/directions I wanted them... I even considered leaving them off and fitting plane over center pins.
 
I'll fit mine pretty soon, they've been sitting around for 2 years now, it's time to get busy with the cutting tools on the bonnet :)
 
mazmaz":pvap6l42 said:
nice ad !

probably it has not been easy to adjust
I spent some time working on where they would fit, using Plasticine to show the different positions of the pins, before drilling holes for them. Also, considering how to get the nuts on the under side of the latches. Drill holes for the pins, then, with a bit of grease ontop ot the pins, closing the bonnet left a small grease mark on the underside of the bonnet inner skin. Drill through the inner skin and make a large hole... repeat the grease to leave marks on the inderside of the bonnet.

Take bravery pills. Drill through the bonnet skin and then use the templates to mark out the required cutouts. Dremel cutting blade and chop out the hole. Test fit the latch and and breath a sigh of relief.

Drill six holes for the attachment bolts.
 
Yes, theres a ring with six nuts hidded between the inner and outer skinns of the bonnet. Guesses how I held the nut ring in position so I could get the bolts started :?
 
Question is not so much how you held it in plqce but more how you got it between the 2 metal sheets to get into the right position...
 
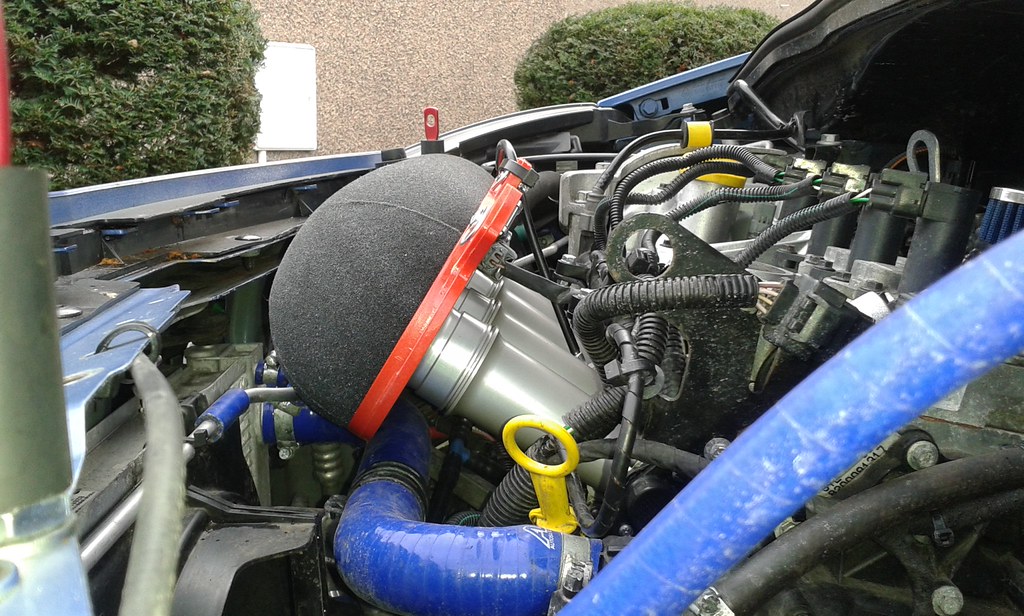
I would have taken some pictures, but I sprayed waxoil everywhere and it got a bit messy.

187.jpg


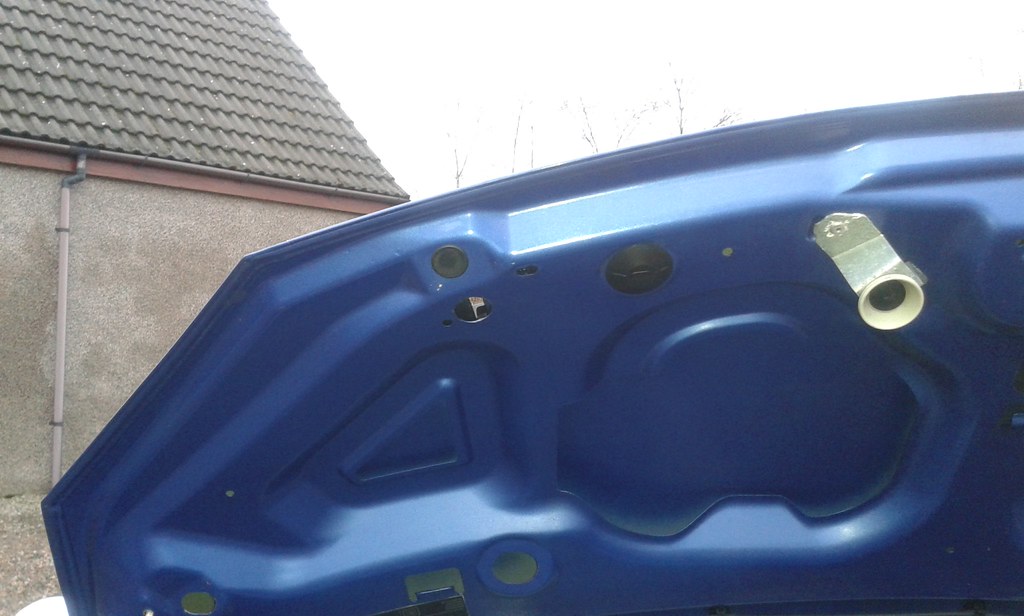
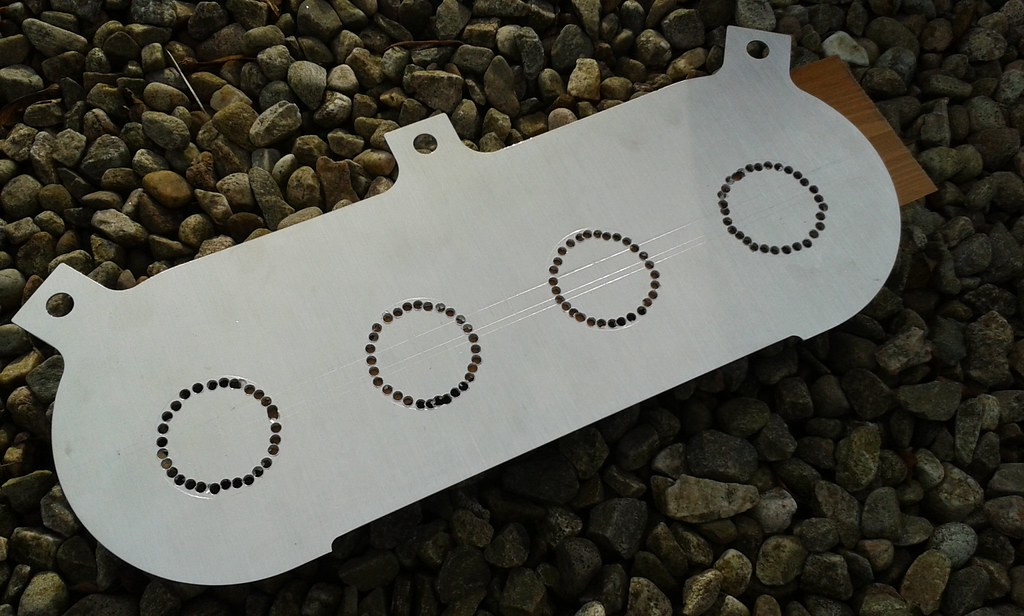
The rings can be used on the underside of the pannel to hold the nuts inplace. As I wouldn't be able to get a finger onto the nuts from the underside, I used a bit of Evostick to glue the nuts into the ring as they were a bit too loose and I could guarantee that the sixth nut would drop out if I had tried without glue.

The complete ring wouldn't quite fit down through the hole, so I cut out a section between two of the nuts making it into a C shape. This allowed me to thread the ring down through the hole, which just left keeping it inplace as the next hurdle :?

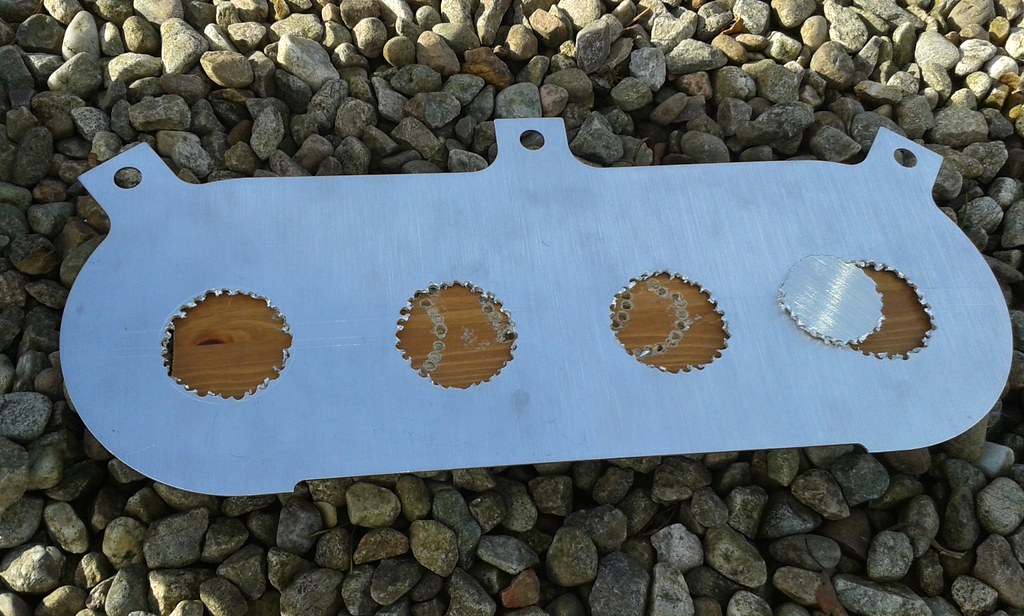
With the ring held inplace, I threaded some string down through one of the 4.5mm holes in the bonnet and nut, then back up through an adjacent nut and hole, giving two ends to pull on. Repeat for a pair of nuts on the opposite side so you now have four ends of string.

Now, pulling on the four ends of string holds the ring to the under side of the bonnet skin and leaves two bolt holes free :)
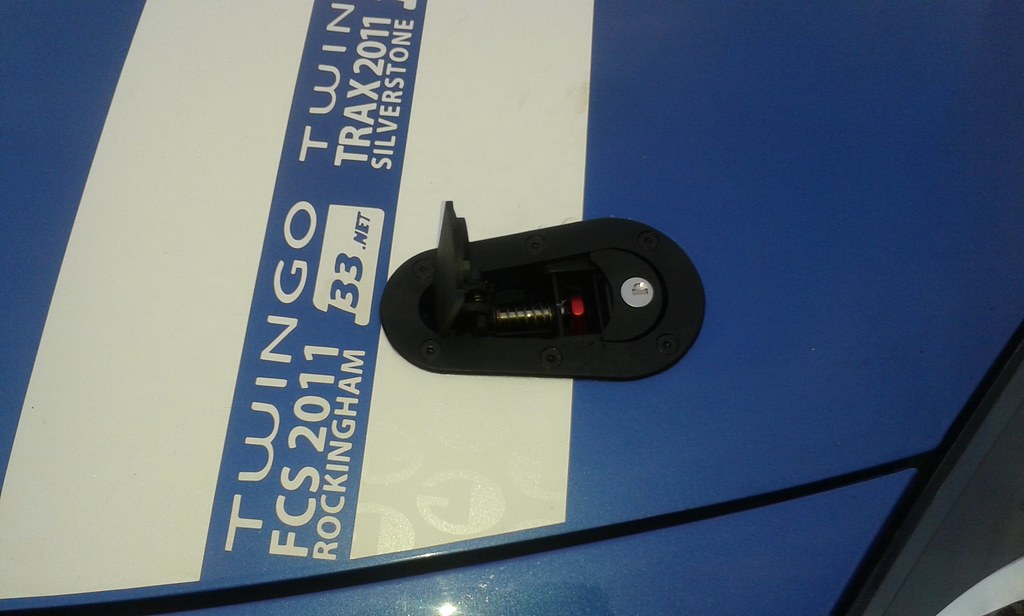
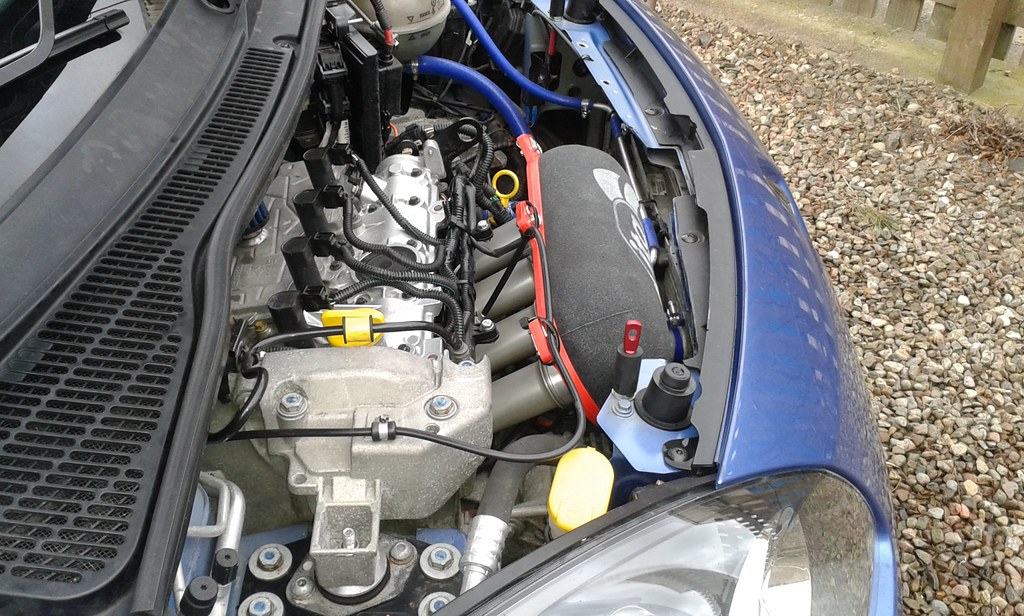
Passing the ends of the string through the relevent holes in the Aerocatch, drop the catch into place. Pull on the string and wiggle the ring into position so you can fit the two bolts that are free, leaving them slightly loose for now. Now the ring is loosely bolted inplace, pull the lengths of string out and fit the remaining four bolts. Tighten up all six bolts :cool:

Adjust the height of the pins so the catches are properly secure and the jobs finished :mrgreen:
 
Well done mate, you're quite handy when it comes to sorting out that kind of annoying little details!!! I'll make sure to keep your step by step in mind when i do mine.
 
i think it looks quality man, top job. like you said, function over form right!?
 
From another thread about cam timing, it has reminded me about the possibility of lumpy idle if the timing is out. Well, my inlet cam timing is currently set 4degrees retarded to get it to idle with the standard intake and the stage two cams.

When I picked it up from Paul, with the throttle bodies on, he mentioned I could probably reset the cams...
Before coming away to work, I had a play altering the VVT actuation at idle speed and got up to 5degrees before it was getting upset. Theres several areas of the map which use full VVT at present, so an extra 4 deg may help, so I'll probably be resetting the cam timing to the initial position depending on how the map looks with the longer inlets.
 
Longer inlets fitted and, the extra 60mm has worked out just nice :cool:

It was a case of measure a few times and cut once, so the filter isn't resting on the radiator hoses or, the ram pipes being squashed against the inside of the filter
12698241734_f60010b8c6_b_d.jpg


12698246104_62825e14e6_b_d.jpg


12697766535_d687fd6137_b_d.jpg


Instead of 70mm extensions, thats now 100mm extensions and a set of 30mm tunning rings on them, followed by the 40mm ram pipes inside the filter
12698258604_6cd2a1ef7e_b_d.jpg


12697938643_7a2b810991_b_d.jpg


Next up, tidy the wiring harnesses across the top of the fuel rail
12697943303_8f2f1dd6d8_b_d.jpg
 
Top